Optimizing Virtualbox for Performance
After coming back from hell trying to install Ubuntu, I decided to just use VirtualBox.
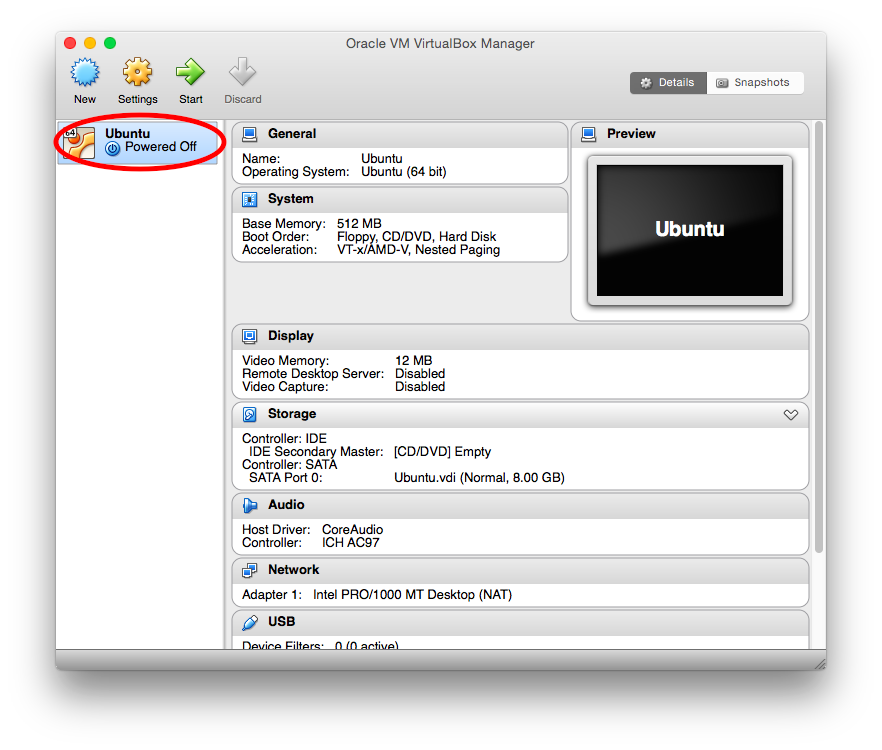
It wasn’t that great at first. It was slow and lagged. I thought it is just because it is a virtual machine. However, I realized a few settings that I could have changed to make things a lot smoother.
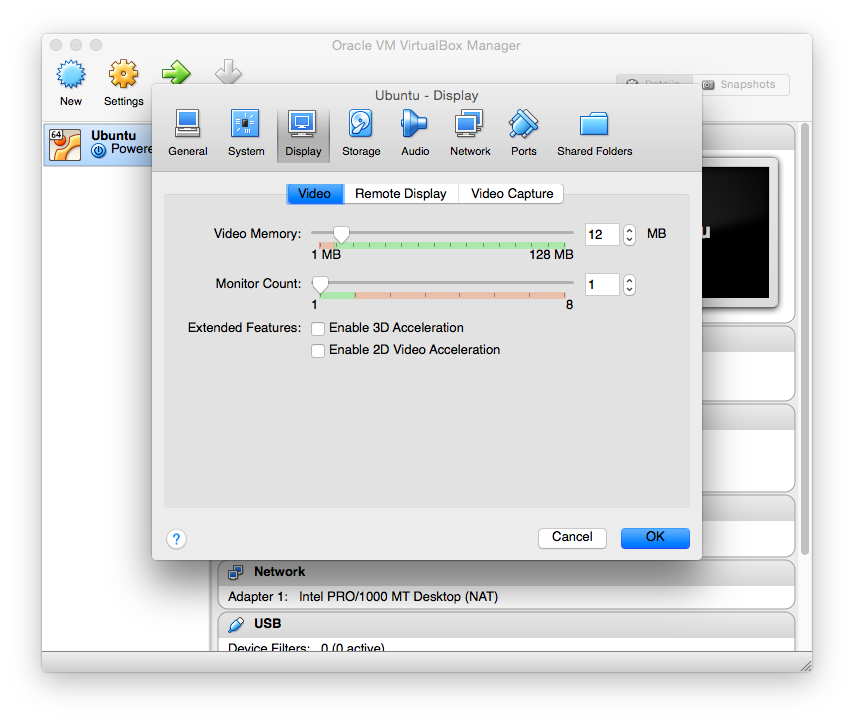
###1. Video Settings###
Make sure to shut down the Virtual Machine first. Not save, shutdown.
 By default they only allocate 12MB of video memory of vram. Up that all the way to 128MB. I noticed no real difference in performance at ~50MB and 128MB. Also, Check “Enable 3D Acceleration”. 2D Acceleration only works in Windows guest machines.
 That one change made a huge difference in visual performances.
If you need more vram, you can increase vram to 256MB. 256MB is the maximum. However, you can’t do it in the GUI interface. You must use command line.
Windows:
Navigate to where VirtualBox was installed to get access to VBoxManage.exe. Then run VBoxManage modifyvm VIRTUAL_MACHINE_NAME --vram 256 replace VIRTUAL_MACHINE_NAME with the name of your Virtual Machine. So for me, it is
cd "C:\Program Files\Oracle\VirtualBox"
VBoxManage modifyvm Ubuntu --vram 256
Mac:
Remember Mac file system is case sensitive.
VBoxManage modifyvm VIRTUAL_MACHINE_NAME --vram 256 replace VIRTUAL_MACHINE_NAME with the name of your Virtual Machine. So for me, it would be
VBoxManage modifyvm ubuntu --vram 256###2. CPU and Memory###
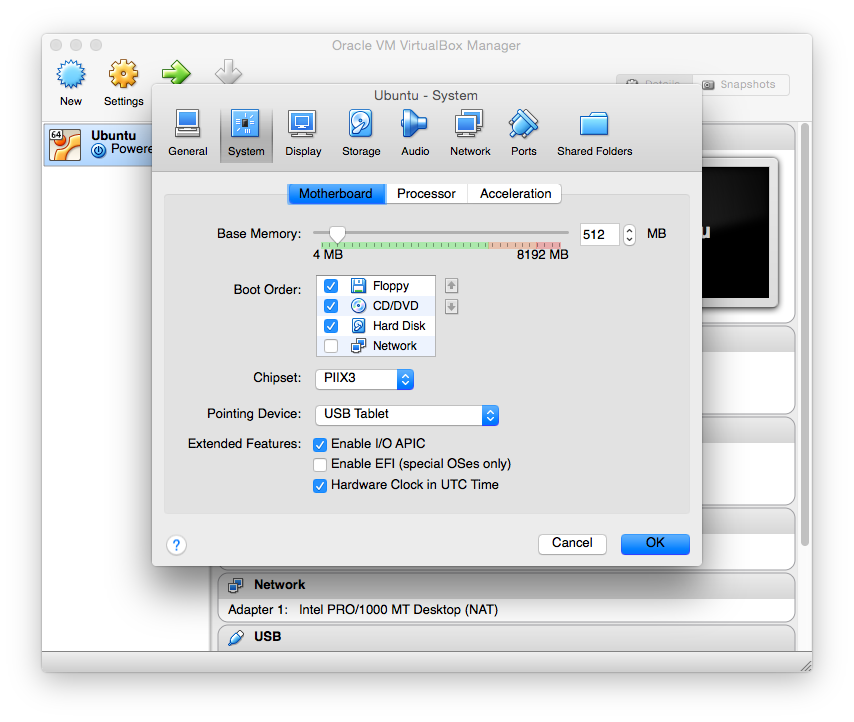
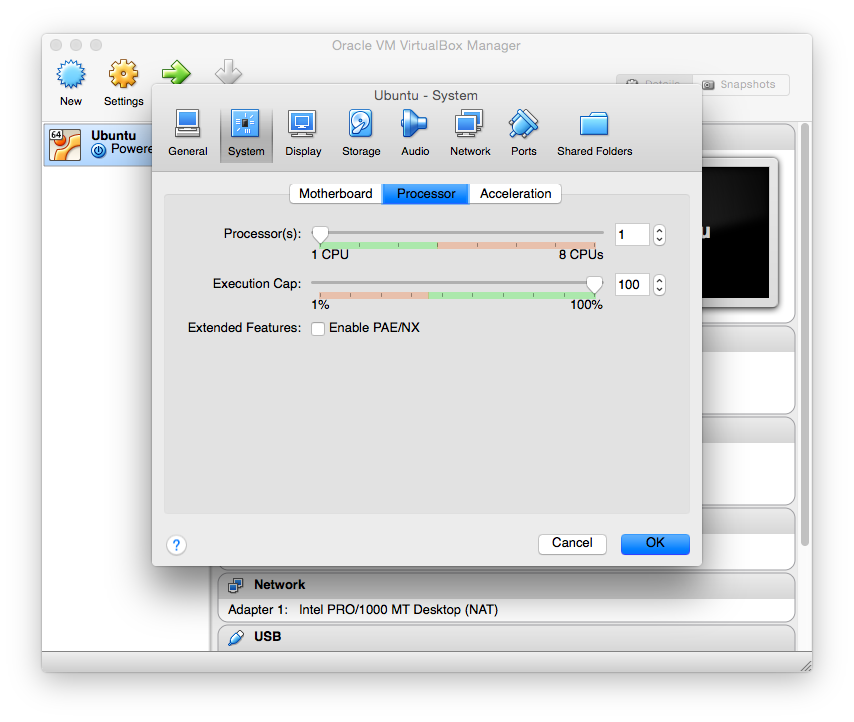
Depends on how much system resources you need. You can add more CPU cores and memory. The default 512MB of RAM is not enough. I have 8GB of RAM, so I have a lot to spare. 2GB is enough. After that is just luxury, unless you needed for development needs.
 If you are doing multi-threaded development, you can get more cores to your virtual machine. My computer has 4 cores, but adding cores didn’t make a real difference.

###3. Storage### By default, VirtualBox sets you up with 8GB of hard drive space. You’ll probably need more than that. You can’t add more storage in the GUI. Steps are similar to adding more vram.
Windows:
Navigate to where VirtualBox was installed to get access to VBoxManage.exe. Then run VBoxManage modifyhd C:\dir\where\virtual\machine\is\stored\VIRTUAL_MACHINE_NAME.vdi --resize SIZE
The directory is where you saved your Virtual Machine. You’ll find a file VIRTUAL_MACHINE_NAME.vdi, where VIRTUAL_MACHINE_NAME is the name of your Virtual Machine. SIZE is the new size the drive will have in MB.
For me to increase my storage to 25000MB from 8000MB:
cd "C:\Program Files\Oracle\VirtualBox"
VBoxManage modifyhd C:\User\tony\VirtualBox VMs\Ubuntu\Ubuntu.vdi --resize 25000
Mac:
Remember Mac file system is case sensitive.
Change directory to where your VirtualBox was installed. Most likely in your ~/VirtualBox VMs directory. Find the file with the VIRTUAL_MACHINE_NAME and ends with .vdi
VBoxManage modifyhd VIRTUAL_MACHINE_NAME.vdi --resize SIZE
VIRTUAL_MACHINE_NAME is the name of your Virtual Machine, and SIZE is the new size the drive will have in MB.
For me, it is
VBoxManage modifyhd Ubuntu.vdi --resize 25000 for 25000MB of storage up from 8000MB (8GB).Now that the “physical” drive is larger, you can go into the operating system and repartition to use the new space.